Savonlinna · StudioProcess
The six-week
commission journey.
Six phases. Six sign-offs. One hand on the work.
A typical AIHIO commission moves through six phases over roughly six weeks — from the first moodboard to the wraparound after the piece is switched on. Each phase has a deliverable the client can see.
Moodboard · 3D · Approval · Production · Install · Wraparound
How a commission reads
SIX·PHASES
ONE·HAND
A maker’s journal, in six short chapters. Nothing is printed before it is approved; nothing is shipped before it is QA’d in a darkened room.
- /01MoodboardWeek 1
- /023D visualisationWeek 2
- /03Technical approvalWeek 3
- /04ProductionWeeks 4–5
- /05Installation supportWeek 6
- /06WraparoundAfter install
/01Week 1
Moodboard
A first conversation in writing, then in the studio. Photographs of the room, the dimensions, the light at the hour the piece will be switched on. The studio reads the brief and returns a moodboard — surfaces, scales, formal references — that ends with a single sculptural form proposed in 3D, sized to the actual wall and the actual ceiling.

/02Week 2
3D visualisation
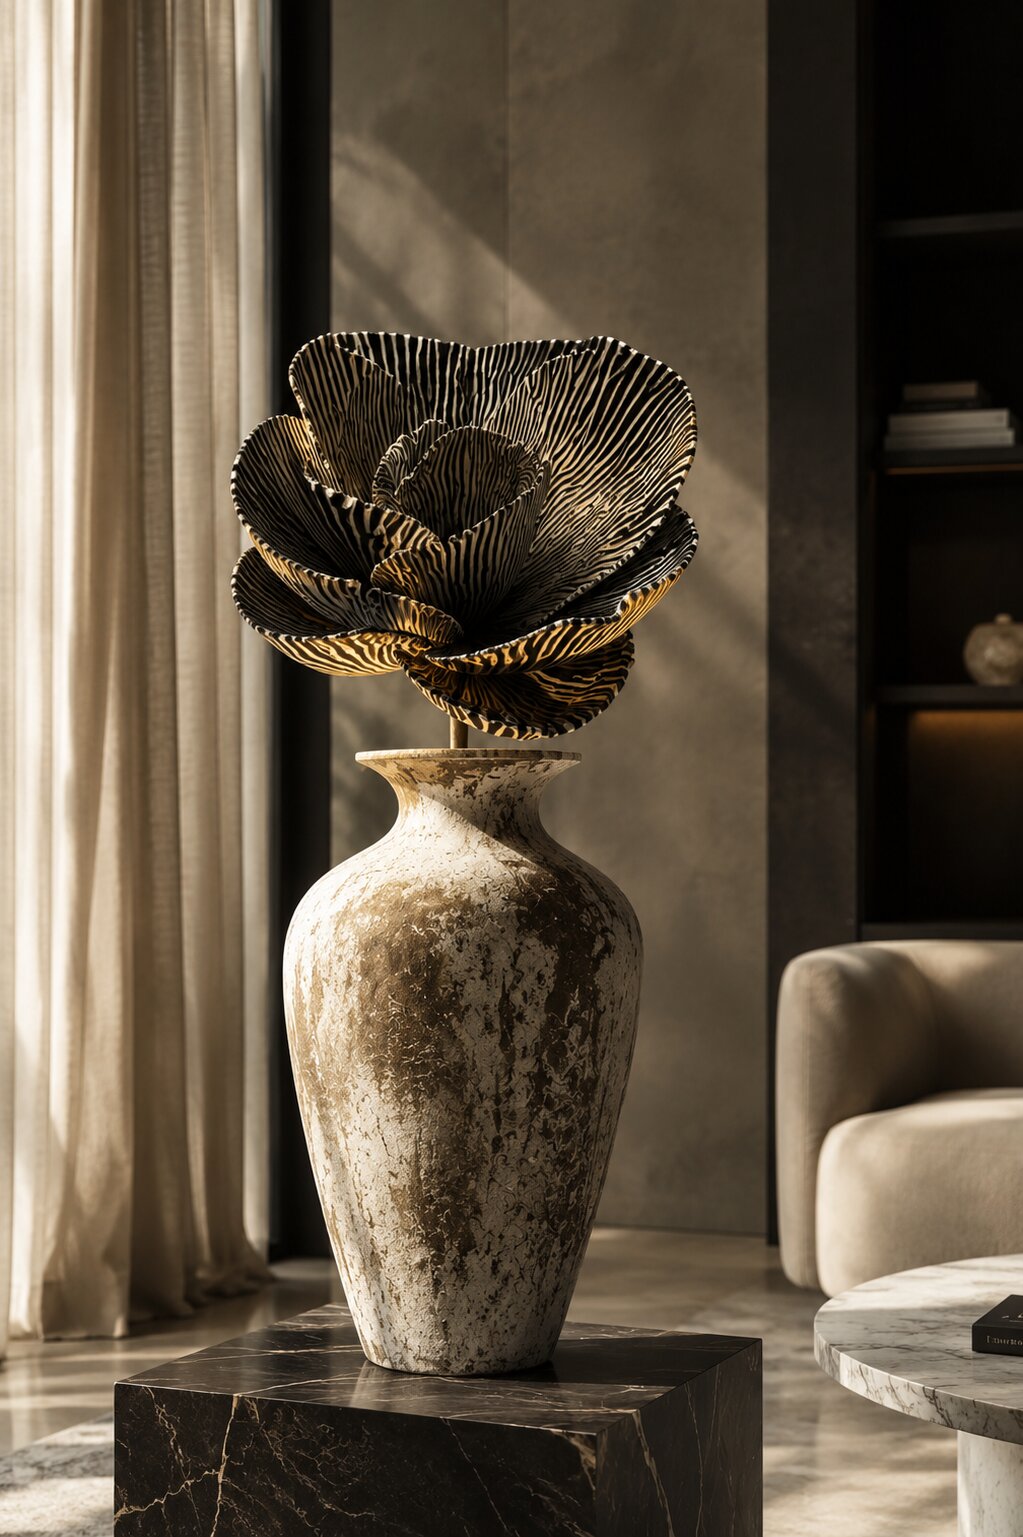
The form is rendered against photographs of the actual interior, with light, material, and scale simulated at the angle the piece will be seen from. The client sees the object in its room before it is printed — proportions checked, surfaces decided, the brief either confirmed or quietly refined.
/03Week 3
Technical approval
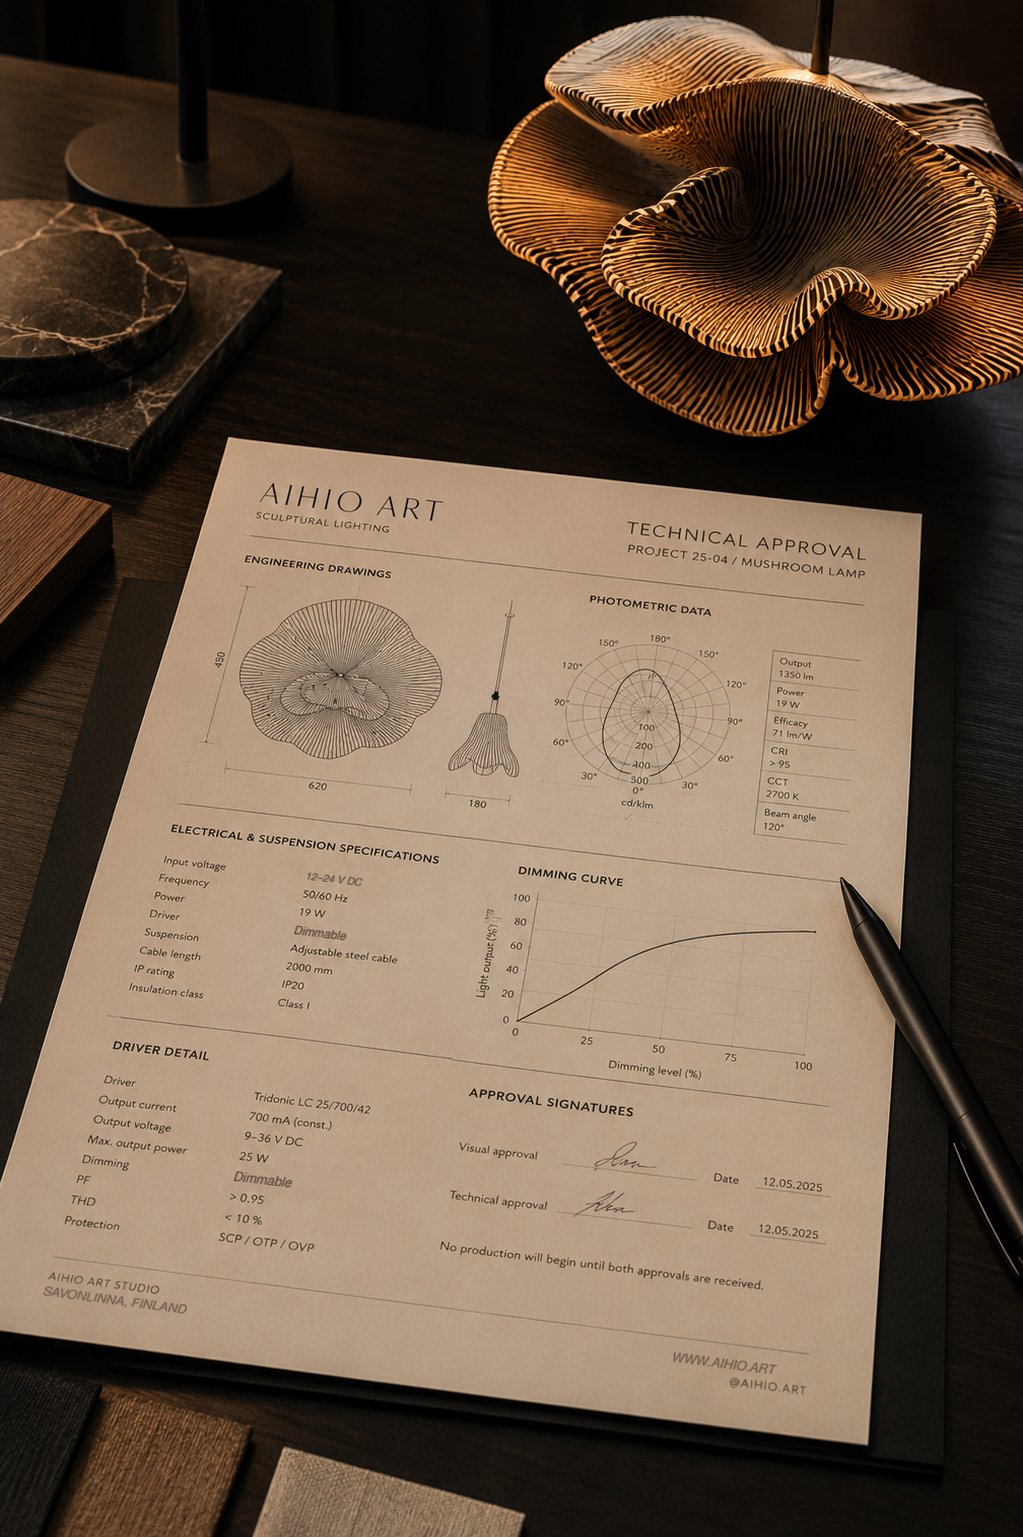
Engineering drawings, photometric data, electrical and suspension specifications are written and signed. CRI, colour temperature, dimming curve and driver detail are fixed in writing. Nothing is printed before both the visual and the technical approvals are in the studio’s hand.
/04Weeks 4–5
Production
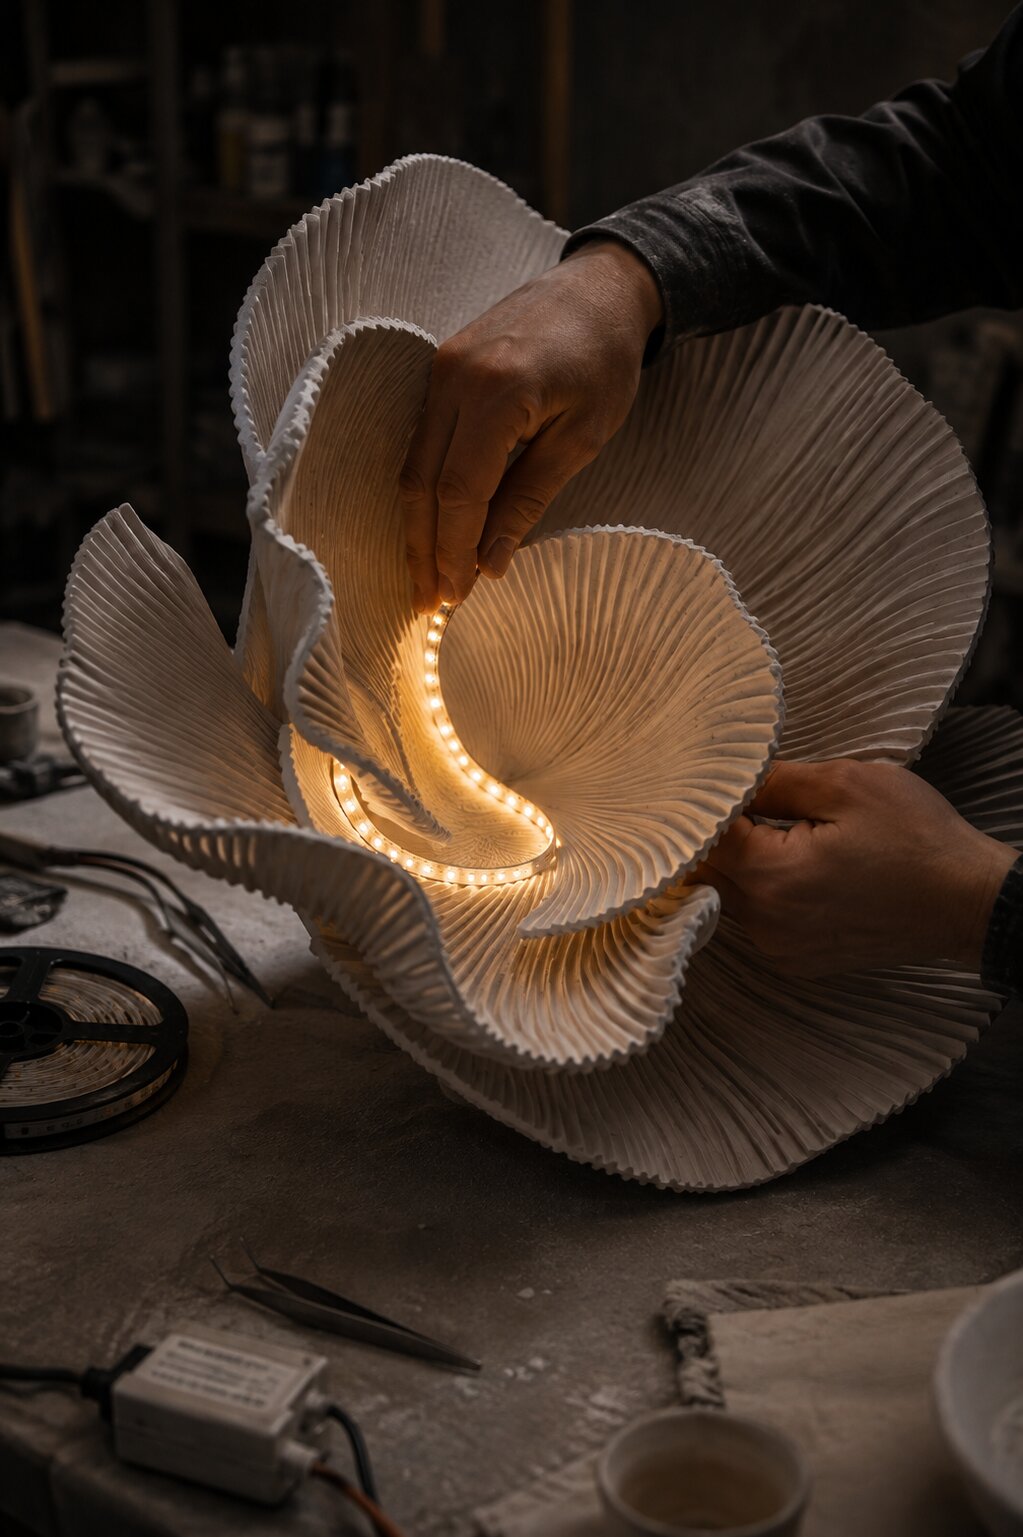
The structural body is 3D-printed in the Savonlinna studio, layer by layer, in a one-off geometry. Surfaces are sanded, sealed, then finished by hand — plaster, lacquer, pigment, or metal leaf. The LED module is integrated inside the form, and the piece is tested in a darkened environment before it is ever packed for delivery.
/05Week 6
Installation support
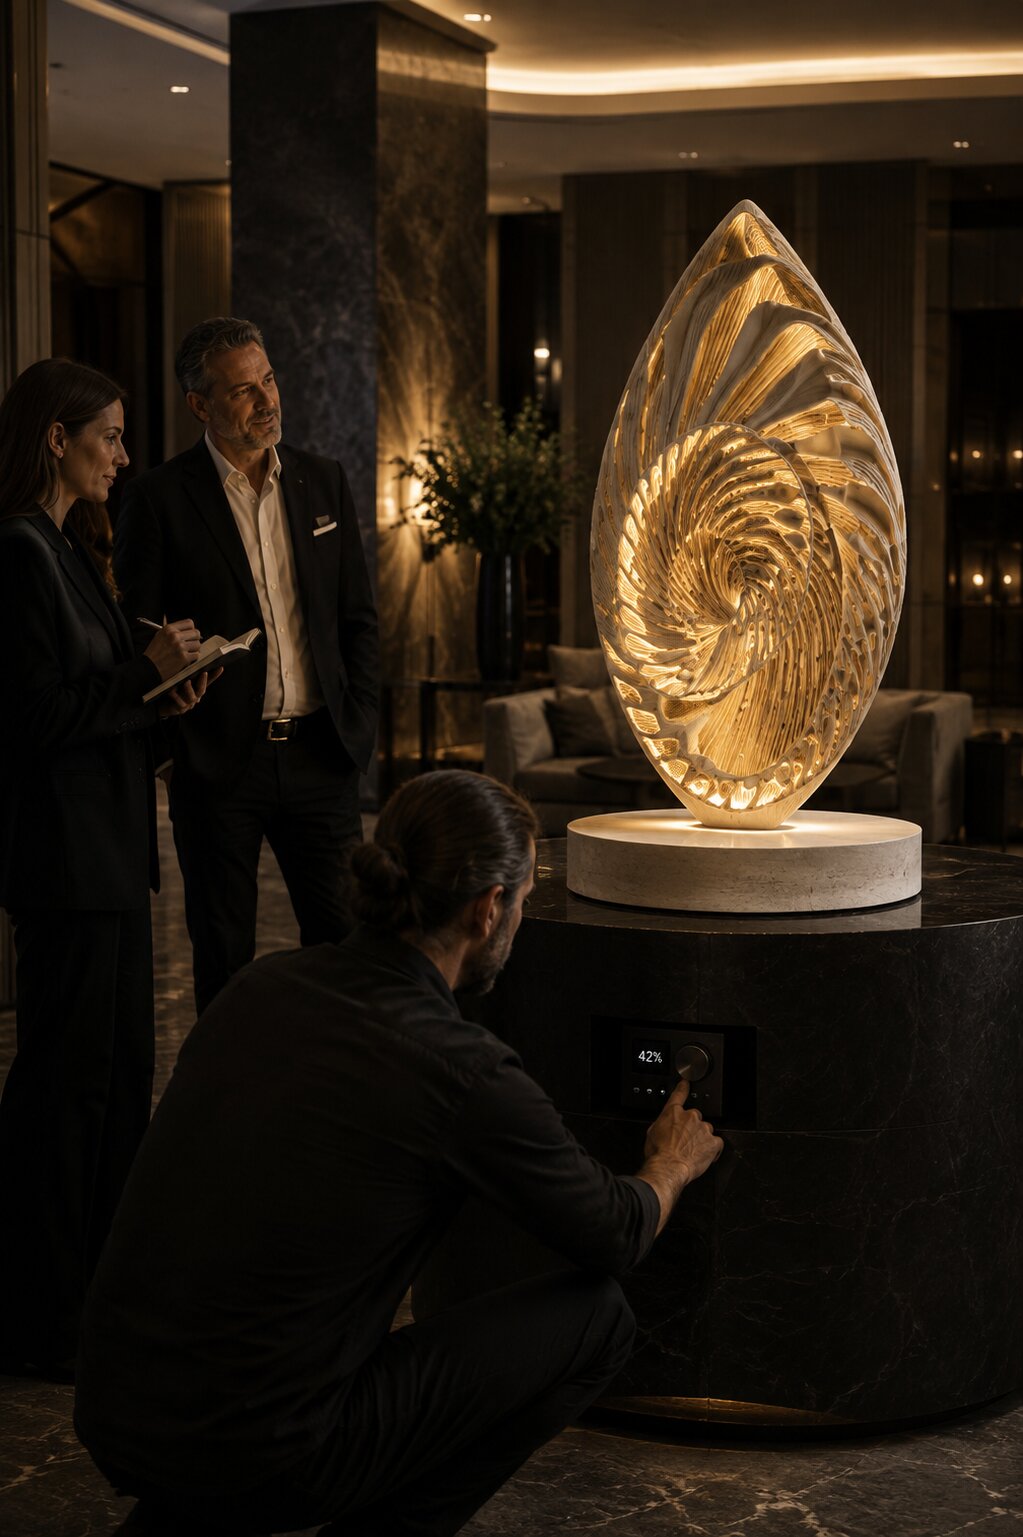
The piece is crated with care, shipped to the interior team, and installed alongside them on site. The studio is on the line for the electrician and the architect — dimming, mounting, ceiling prep, the last-hour changes that always come up at install. The piece is switched on, the room is read, the relationship continues.
/06After the install
Wraparound
A commission does not end at the switch-on. The studio stays in touch for the first year — dimming curves adjusted, surfaces refreshed, a second piece conceived for a second room. The studio is small enough to remember its clients.
Still deciding?
The journey begins with a single short note about the room.
Tell us the space, the brief, and the date the piece needs to be switched on. The studio replies personally, usually within a few working days.